

ACCESS/RETRIEVE DOCUMENTS
If you need to gather together documents for emailing or other purposes, the CASI Document Management window is very useful
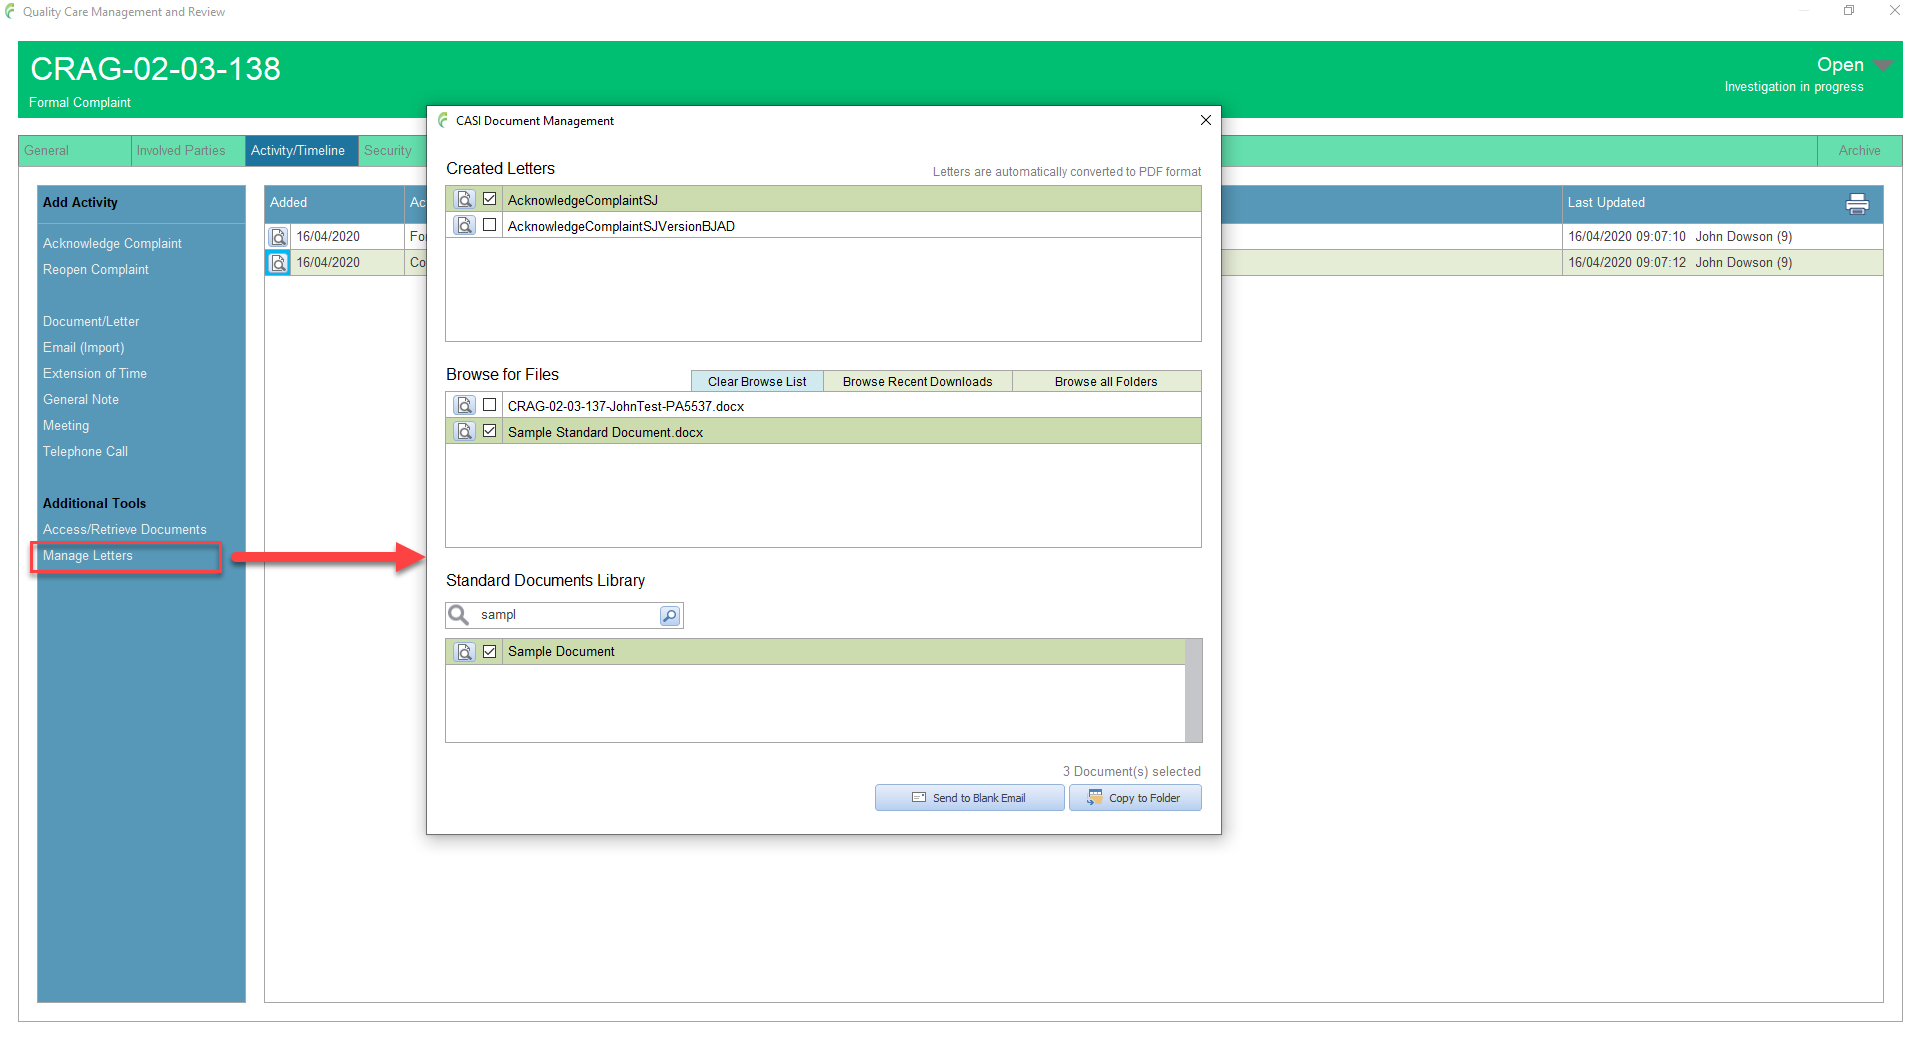
Open the required incident and click the Activity/Timeline tab in the Incident management window
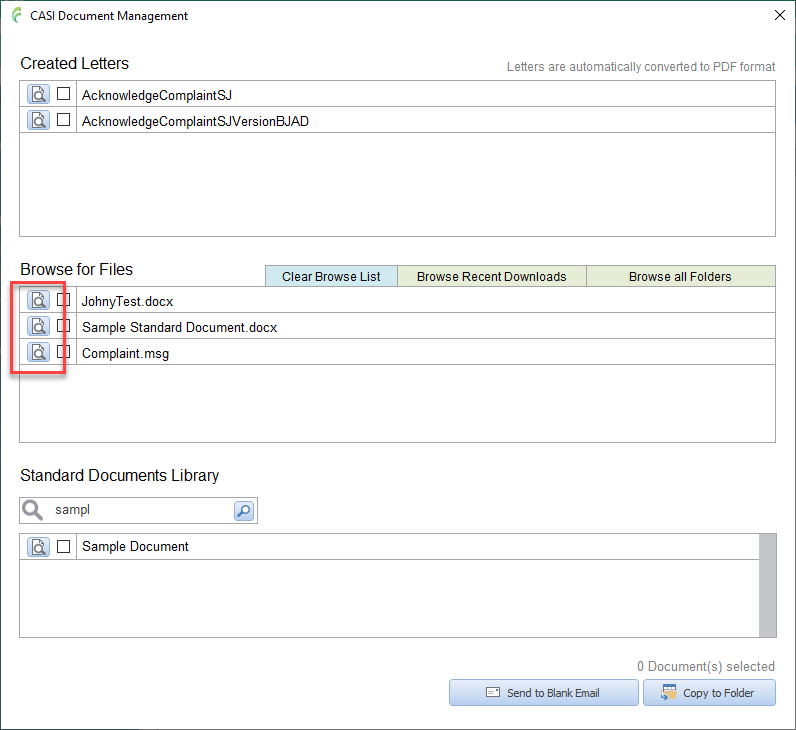
Select Access/Retrieve Documents in the side bar menu to open the CASI Document Management window
This window allows you to quickly gather documents from
- List of created letters for the incident
- Browse to files located on the computer system including recent downloads from within an activity
- The standard documents library
Documents can be searched and selected from any combination of the available sections and once selected, can be sent to a folder or to an email as attachments
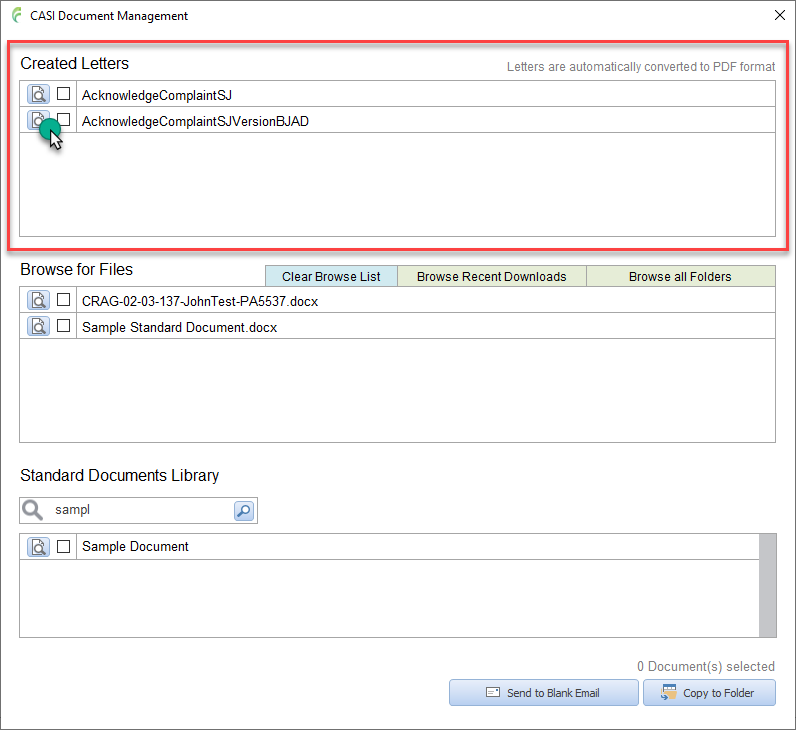
Created Letters
Any letters created for the incident will be listed here
Please see Manage Letters for full details on creating and editing letters
Letters can be reviewed by clicking the open document icon (magnifying glass). Please note that this tool opens a read only copy of the letter. Letters cannot be edited from the Document Management tool, only from the Manage Letters tool
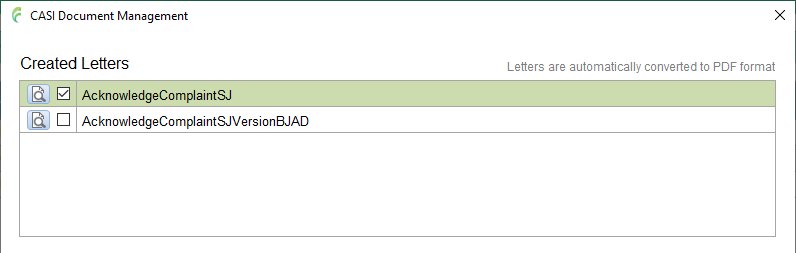
Documents have to be selected before an action can be performed on them
Click once on a document to select it
Click again to deselect it
Selected documents are highlighted in green
Browsed Files
Two options for browsing folders on the computer system, All folders and Recent Downloads (files that have been recently downloaded from within an activity)
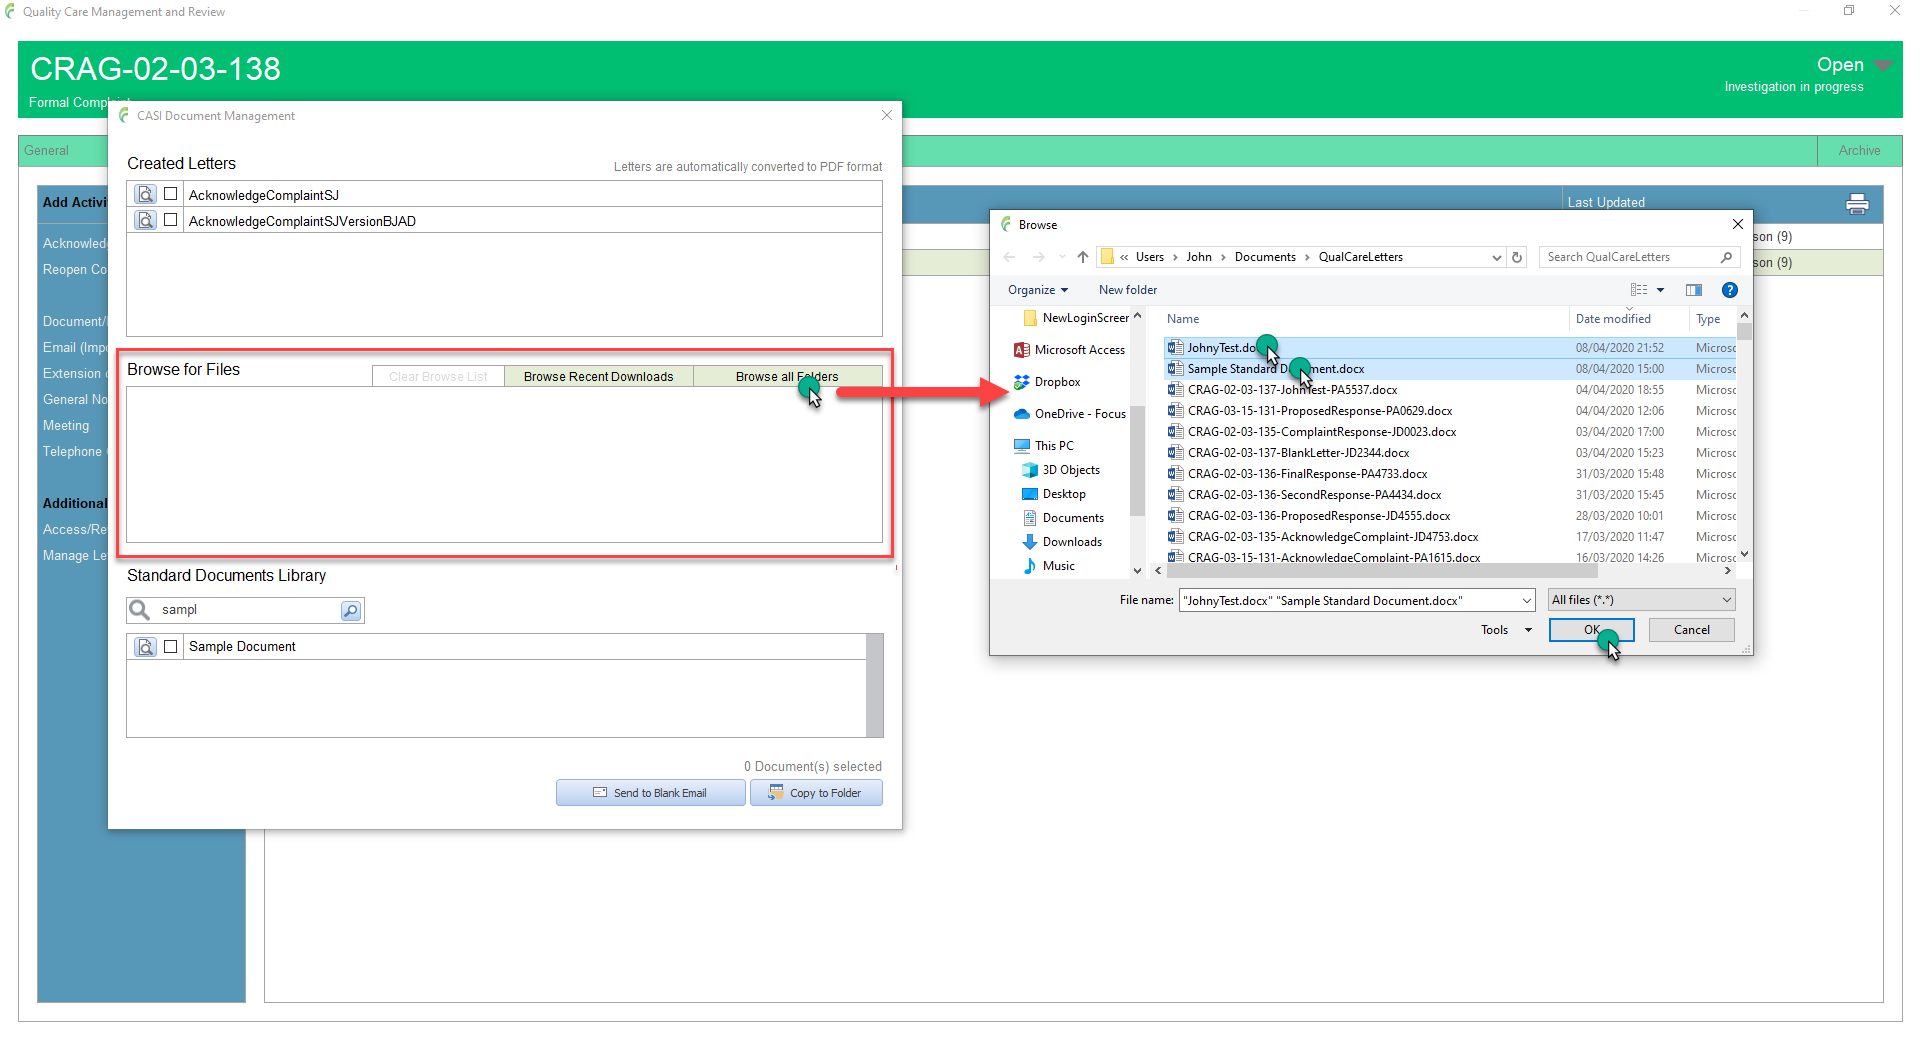
All folders
Click Browse all Folders to open the Browse window
Navigate to the folder containg the files you need
Select the required file(s): use the standard windows techniques for selecting multiple files if required ie Shift click, Ctrl click etc
Click Ok
Recent download folders
This gives quick access to any recently downloaded files from an activity. Please see any activity for full details about downloading files (for example Document/Letter)
Please note, download folders are temporary; they are automatically deleted (along with all documents containined within them) when you sign out of QualCare or close QualCare down
Click Browse Recent Downloads to open the Your recent download folders for the incident window
Select the required folder from the list to open the Browse window for that folder
Select the required file(s): use the standard windows techniques for selecting multiple files if required ie Shift click, Ctrl click etc
Click Ok

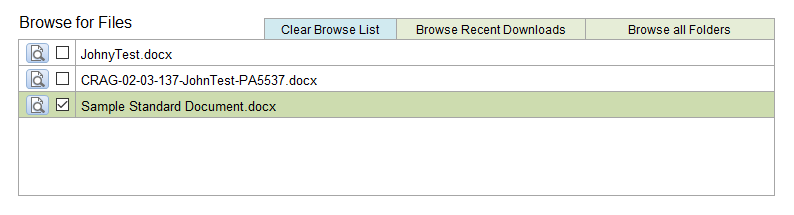
Whichever method is used, the file(s) will be listed in the Browsed files list. The process can be repeated if files are required from multiple folders
The file(s) can be reviewed by clicking the open document icon (magnifying glass). Please note that this will open a read only copy of the file, not the original.
Documents have to be selected before an action can be performed on them
Click once on a document to select it
Click again to deselect it
Selected documents are highlighted in green
Standard Documents Library
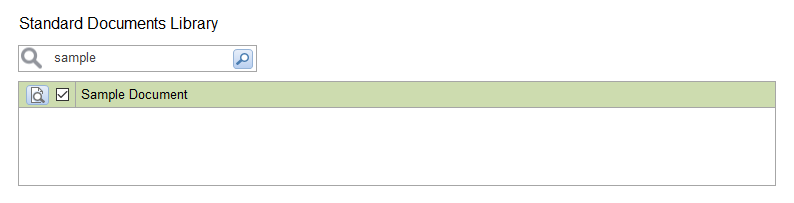
The standard documents library can be searched for any required supporting documentation
Enter suitable text in the search field and click the search button.
Any documents matching the search will be listed as shown and can be reviewed by clicking the open document icon (magnifying glass). This opens a read only copy of the document

Documents have to be selected before an action can be performed on them
Click once on a document to select it
Click again to deselect it
Selected documents are highlighted in green
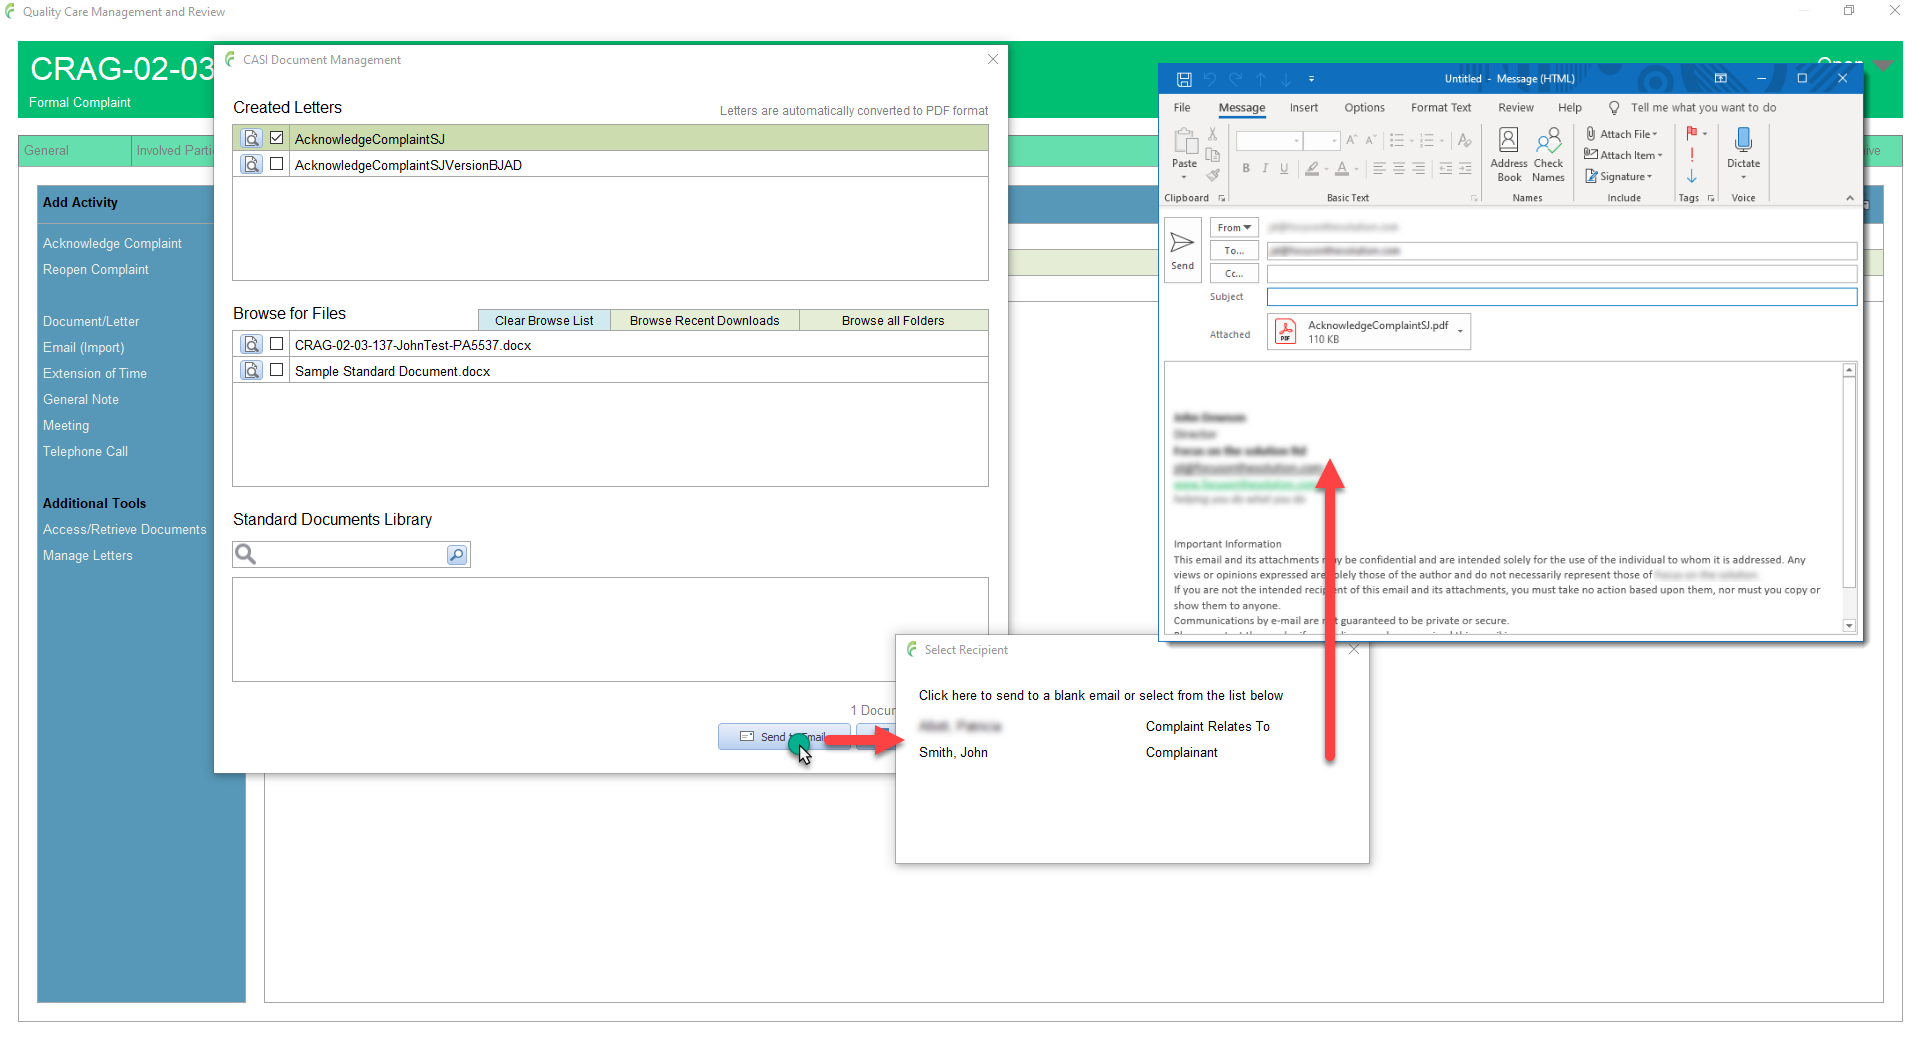
Send to Email
Creates an email and attaches all of the selected documents to it
Any letter selected from the Created Letter section will be converted to PDF format before being attached
Click Send to Email
Select the required recipient from the list of contacts associated with the incident. Alternatively, the document(s) can be sent a blank email by clicking where it says; Click here to send to a blank email. The recipient’s email address can then be manually entered or contacts can be selected from your Outlook contacts list as normal.
Emails sent relating to an incident should be recorded against that incident using the appropriate activity selected from the Add Activity menu examples include Acknowledge Complaint, Extension of Time etc. If the emailed letter does not relate to any specific activity type, it should be recorded using the generic Email (Import) activity
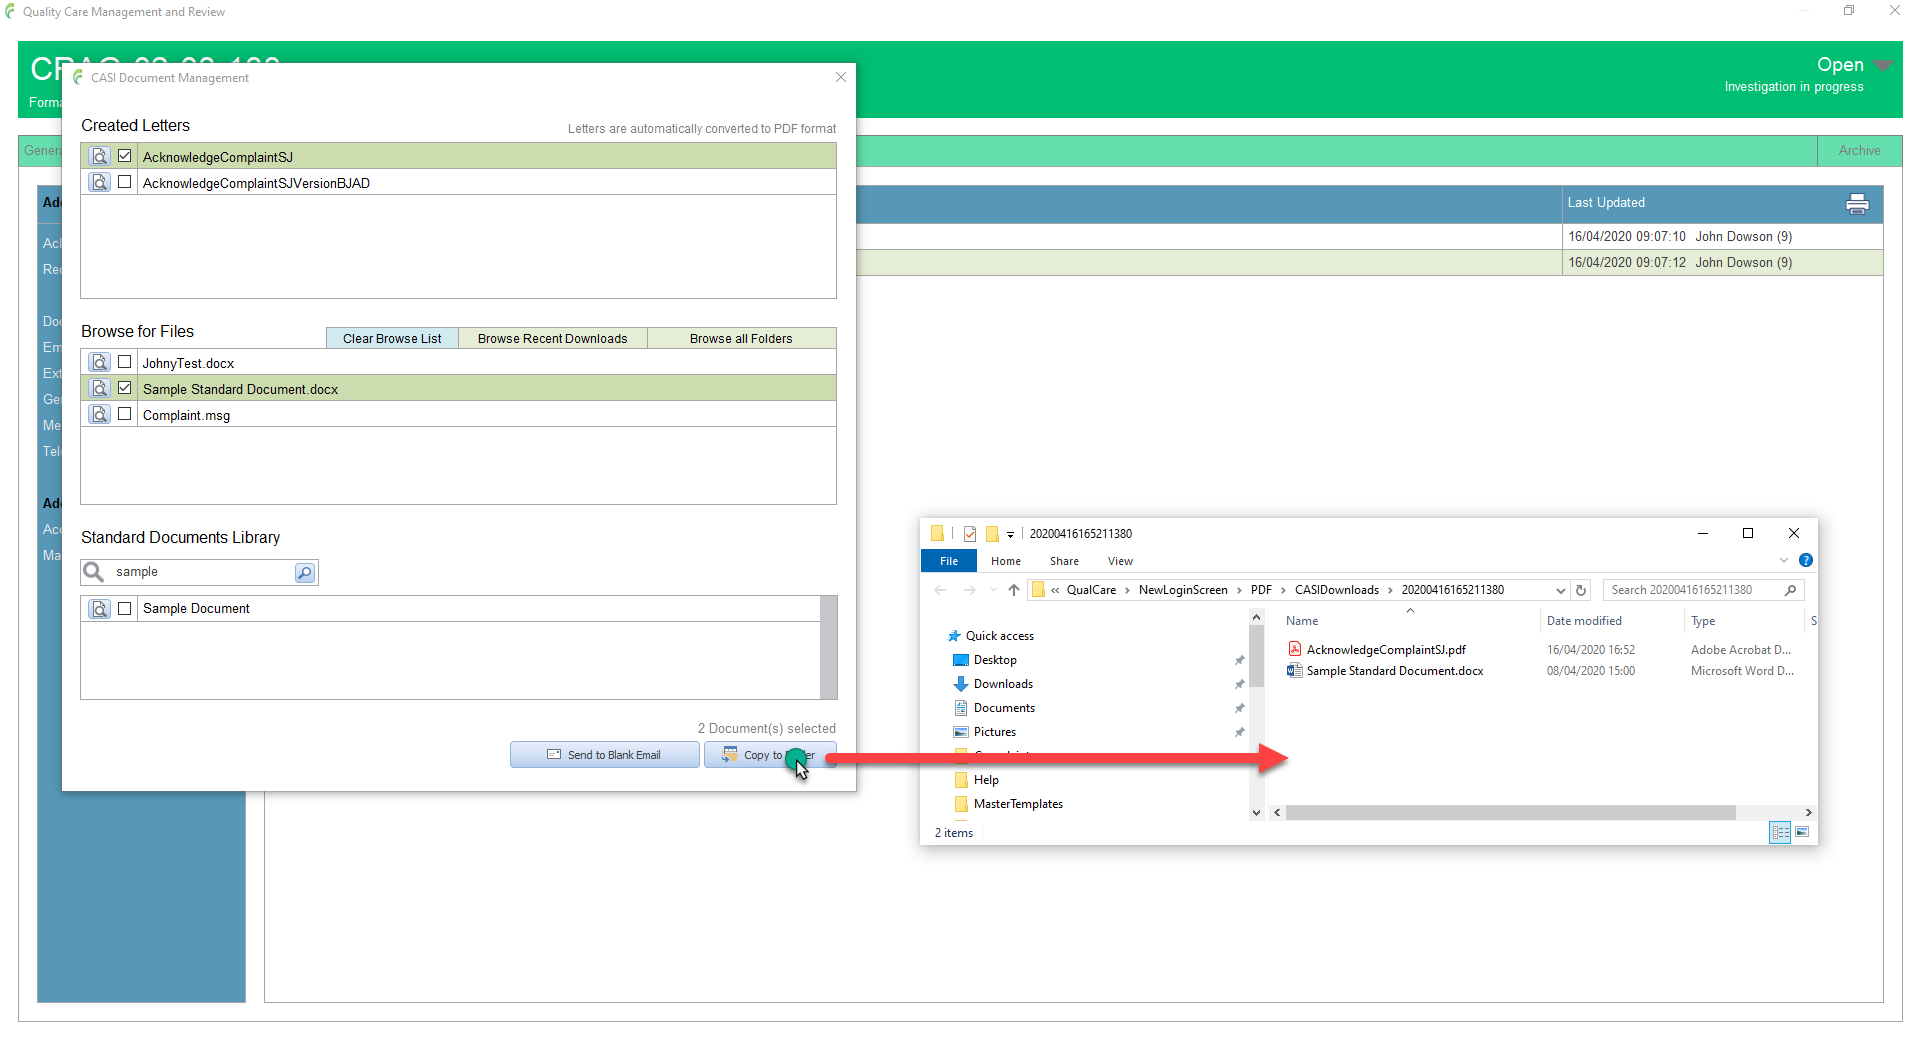
Copy to Folder
Creates a temporary download folder and copies all of the selected documents to it
Any letter selected from the Created Letter section will be converted to PDF format before being copied
Tab Content goes here